DIY Smart Appliance: Making a WiFi-enabled smart air humidifier from a regular one.
So there was a simple air humidifier… Actually, this post is a good example of how to make your regular boring home appliance a little smarter. The main part of my humidifier will be the Wemos (or Lolin) D1 mini board based on the ESP8266 WiFi chip.
My air humidifier has no automatic turn on and off, no timers, only a regulator that also works like a switch. The idea is to make it WiFi-friendly and work with Home Assistant through MQTT.
Actually, I was pretty lucky with this device because there are other models of it with built-in sensors, screens, and other stuff so the hardware was prepared to connect additional modules. But we don’t want to measure humidity inside the humidifier right? So the sensor will be a separate part of the system.
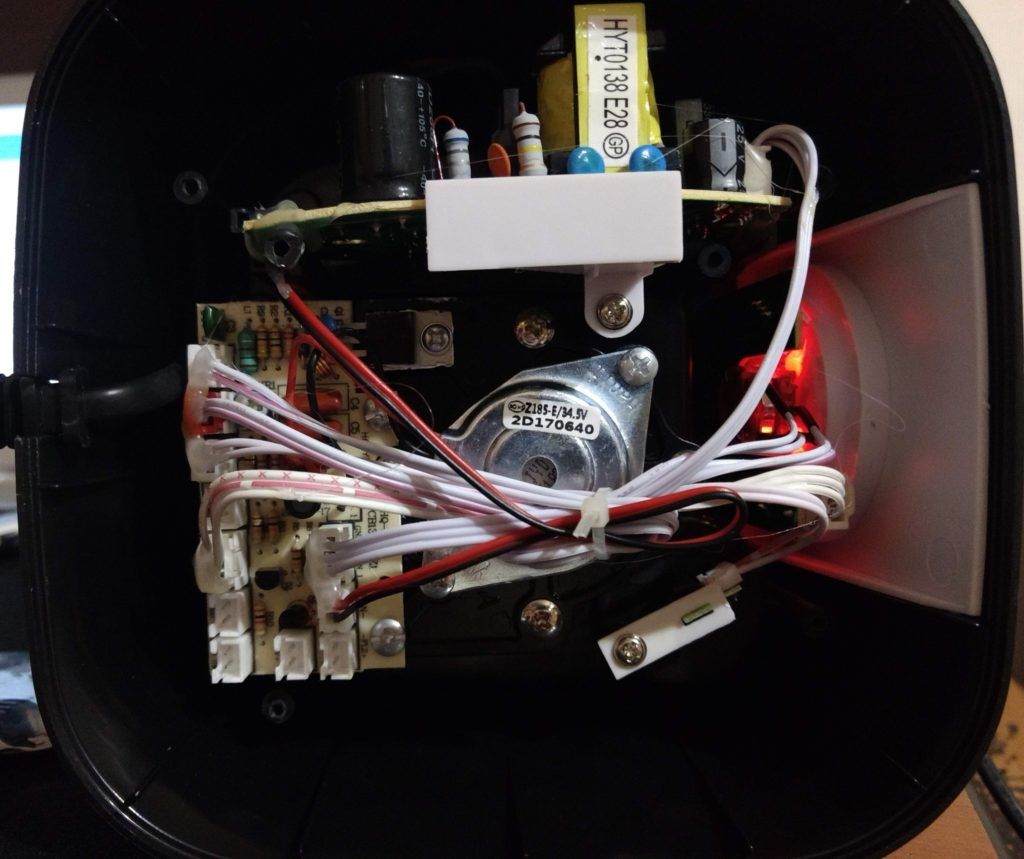
Teardown

So it has an AC/DC power supply. Now we need to find 5v power line for our additions. All internal parts are powered with 12V DC so we need a step down module. In my case there was an empty 12V connector right on the factory board:

Assembling
So we will connect there a regulated power down module and set it up to a 5V output:


Now the main hardware. It is a Wemos D1 Mini ESP8266-based board (well almost because in my case it is a no-name copy of it, don’t buy it please) and a beautiful relay brick from Itead Studio:

Connect it all together. Wemos D1 mini can be powered with stable 5V DC power connected to its 5V pin:

Now we need to unsolder the wires from a factory button or switch and connect it to our relay:

The last step will be gluing all new parts inside our device. Don’t repeat my mistake and glue the WiFi board with micro-USB port pointing outside of the humidifier, not inside it:

Improvements
The final version of my humidifier also checks the state of the factory switch and reports the state to MQTT binary sensor in Home Assistant. Here is a final diagram of this project:

The software was also improved. There was WiFiManager for ESP8266 boards added to make it possible to configure WiFi and MQTT settings without flashing the board.
The code
You can find the sketch for Arduino IDE on my github.
Home Assistant
An example of MQTT platform switch configuration in Home Assistant for humidifier:
switch:
  – platform: mqtt
    name: "Humidifier"
    state_topic: "edwin/humidifier/state"
    command_topic: "edwin/humidifier/power"
    state_on: "on"
    state_off: "off"
    payload_on: "1"
    payload_off: "0"
ESPHome migration
And finally here is a YAML configuration of my humidifier after it was migrated to ESPHome:
esphome:
  name: humidifier
  platform: ESP8266
  board: d1_mini

wifi:
  ssid: "****"
  password: "************"

  # Enable fallback hotspot (captive portal) in case wifi connection fails
  ap:
    ssid: "Edwin Humidifier"
    password: "************"

captive_portal:

# Enable logging
logger:

# Enable Home Assistant API
api:
  password: "************"

ota:
  password: "************"

switch:
  - platform: gpio
    name: "Humidifier"
    pin: D1
    restore_mode: ALWAYS_OFF

binary_sensor:
  - platform: gpio
    name: "Humidifier state"
    pin:
      number: D5
      mode: INPUT