A simple yet powerful alternative for Studio Code Server for Home Assistant in Docker: Visual Studio Code + SSH
Visual Studio Code in a browser aka Studio Code Server is a very comfortable way to edit Home Assistant configuration files. But did you know you can use the Visual Studio Code desktop application on any PC to manage your home server remotely?
Likely you have an SSH server running on your home server to connect to it remotely from your local network. This is actually all you need to be installed on your server to use VS Code for file editing, command execution, and more.
Set up
On your PC or laptop or any other thing you are using for a desktop environment, install Visual Studio Code, if you haven’t already.
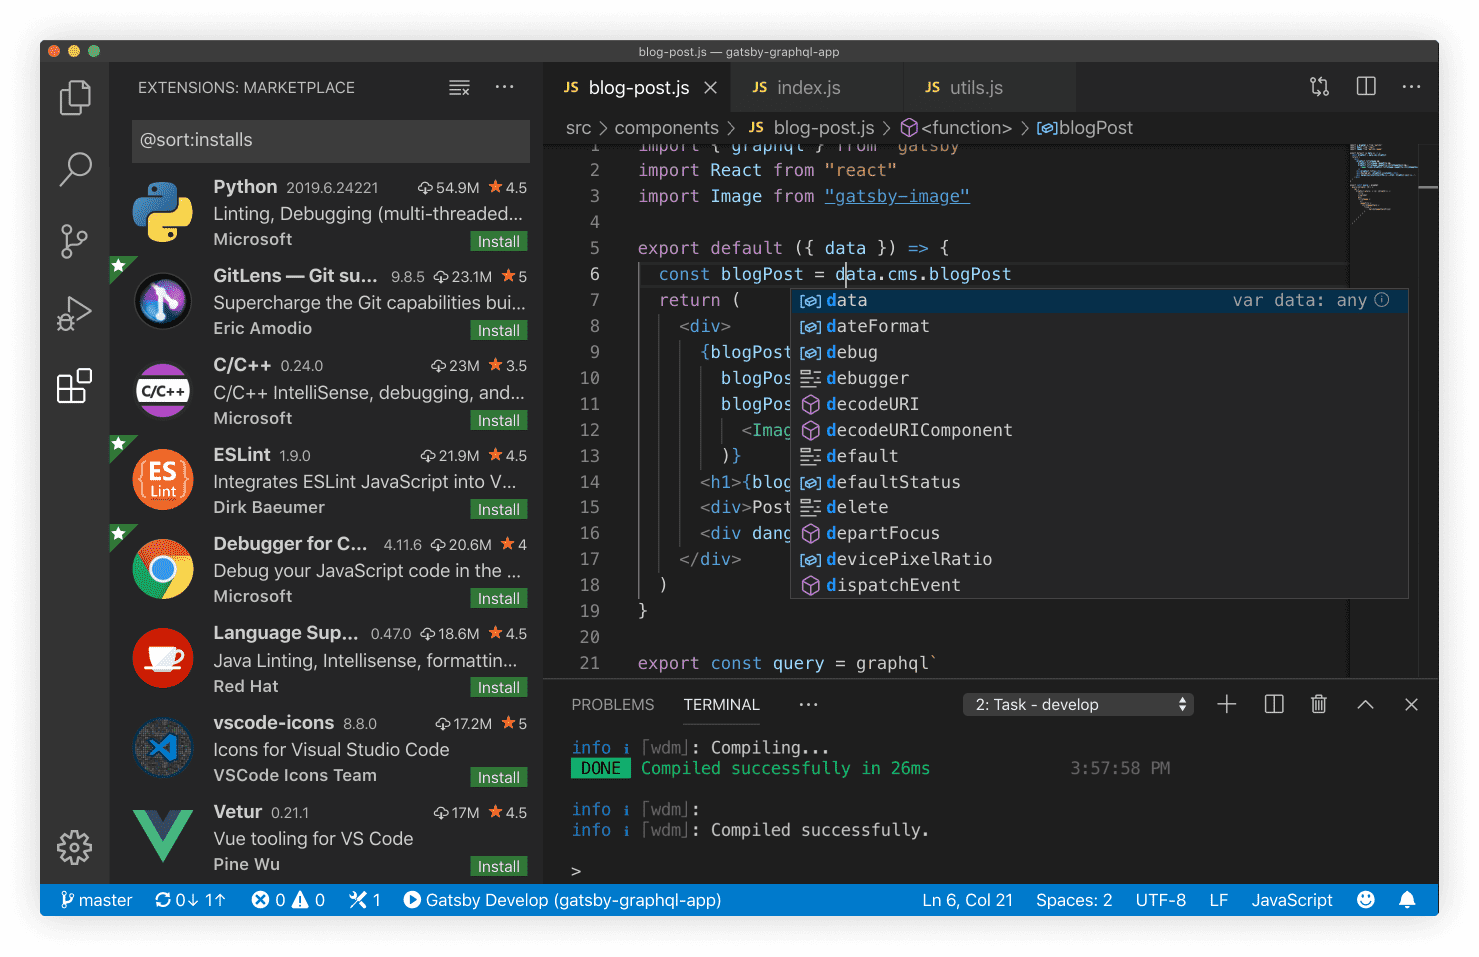
Launch Visual Studio Code, navigate to “Extensions” from the left sidebar, search for “Remote – SSH” extension, click it and install.

After the installation, you’ll have a tiny “Open a Remote Window” button in the bottom left corner of Visual Studio Code:

Clicking it will open a dialog:

Where the “Connect to Host…” option will open a new VS Code window, and “Connect Current Window to Host…” will use the same window. You can use your mouse or navigate through options with arrow keys and the <Enter> key.
The second dialog will ask you where you want to connect. It would be better to choose “Add New SSH Host…” here to save your server’s address and username for later use.

Next, the connection command would be asked:

Usually, it is something like ssh [email protected], where user is a username you are using on your server and 192.168.1.99 is your server’s IP address.

Pressing enter will bring another question – where you want to store configured SSH hosts. Usually, the first option will make the current host available only for the current PC user, and the second will make it visible to every user on your PC:

And that was the final step of configuration.
Use
Now you can finally connect to your server by clicking the same “Open a Remote Window” button in the bottom left corner and selection your server’s IP from the list of configured hosts:


You’ll be asked a password to connect as usual upon SSH connection:

After a successful connection, you could browse files on your server as your local files with the VS Code Explorer. Click on “Explorer” in the left sidebar and choose “Open Folder”:


You’ll be asked to provide a path to a folder you want to open from your server:

After this first folder opening, the folder will be saved for you for quick opening in “Remote Explorer”. You can find it in the left sidebar:


After opening a folder you’ll be able to open, edit, move, and delete files and folders on a remote server, but that’s not a limit.
By choosing Terminal -> New Terminal from the main VS Code menu, you’ll be able to execute commands on a remote server as usual through the SSH connection.