Hosting Ghost Blog On Synology NAS

Do you want to know how and where RandomPlace is hosted? Or do you just want to know how to host a Ghost blog on your Synology NAS? I'm here today to answer both questions.
It's been a long way to my current home lab configuration. There were several Intel NUCs, Nextcloud, and so on, but at the end (or just for now) I have Synology NAS and it allows me to host not only my personal cloud but other services as well. This blog is one of them.
RandomPlace blog is running in the Docker container. In Synology DSM it is a Container Manager package. To be honest, I'm not a big fan of the everything-in-containers approach. Bare-metal installation is much better in terms of maintainability and flexibility, but it is clear why Docker containers become so popular across our home labs. It is much easier to get something up and running with a single command instead of resolving dependencies and configuring your OS. So when this blog was hosted on Intel NUC with Ubuntu OS, it was not in containers. Now, with a new-for-me DSM software, it is easier to get something up and running with a single command instead of resolving dependencies and configuring my OS =)
I know there is a way to run NodeJS apps on Synology DSM, but this is something I need to discover. I'm also not sure I'm ready to SSH to my NAS and start to edit system files. Stability is the main reason why I'm currently with Synology.
Let's get back to our main topic. All further instructions are from DS423+ and DSM 7.2. But I'm sure it would be the same for many other NASes.
Prepare
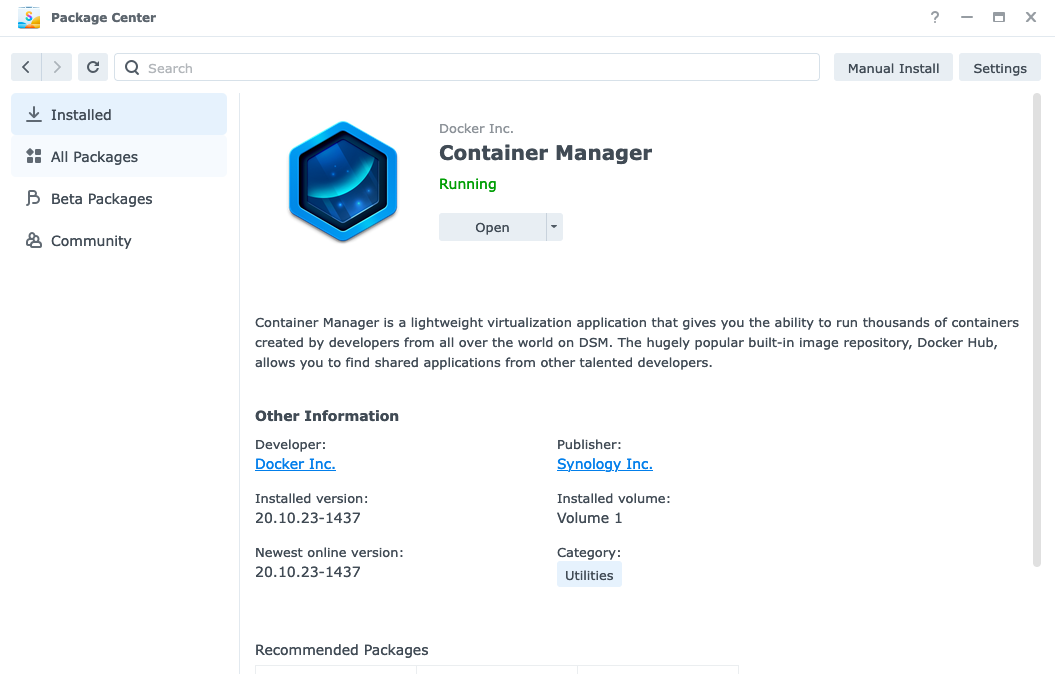
First of all, we will need a Container Manager package to be installed from the Package Center
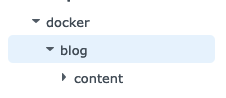
Then we will need some folders to be created. After installing a Container Manager, you will have a new shared folder created for you: docker. A good place to put all your container's data in. We should create a new directory there with any name you want. For example blog. This would be the root of our future project. Then, let's create a content directory inside it:
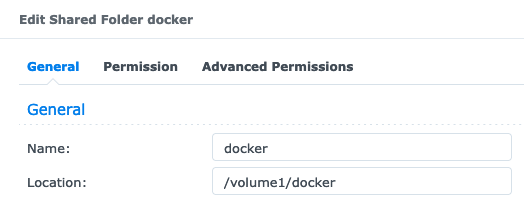
Lastly, we will need to know the volume number where our directories are placed. For this open File Station, right-click on the docker folder and choose Properties. The Location property in my case tells me that the docker folder is placed on a volume1.
The Database
The Ghost requires the MySQL database to work. For the database, we have two options. The first is to have a database as a separate docker container. This option is the simplest. Another one is to use the MariaDB Synology package to have a single database service for all your projects. This will require us to install the phpMyAdmin as well to create and manage databases and users. This option enables the ability for a simple database backup solution because the MariaDB package with all data and settings could be included in Hyper Backup. Also, we will avoid having several containers with the same database service in the future.
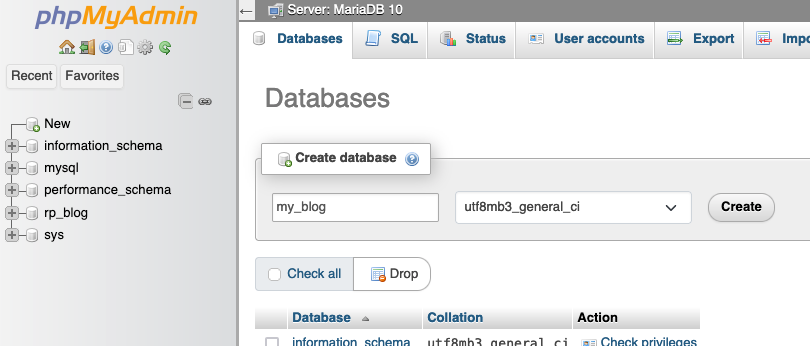
With the second option, after installing MariaDB and phpMyAdmin from the Package Center on our NAS, let's log in to phpMyAdmin with the root user and password we set upon installation and create a new database for our blog and name it, for example, "my_blog":
Now we will need to create a user for this database. Choose your newly created database on the left and navigate to the Privileges tab. You can find the "Add user account" link there.
Selecting "Any host" for the "Host name" field upon user creation will allow the Ghost container to connect to the database even from the bridged network. But also allows connection from any host within your local network (assuming that you didn't open MySQL port to the public internet which you shouldn't do in any case).
Don't forget to tick "Grant all privileges on database my\_blog." on the same user creation page.
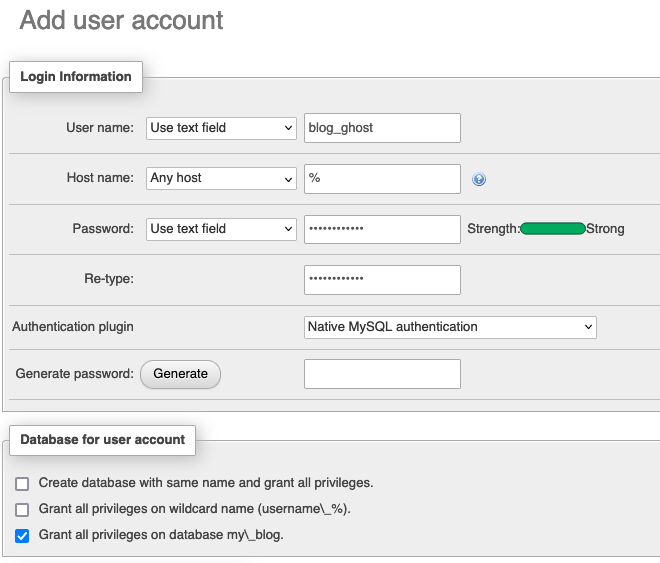
Hit Go in the bottom and we are done here.
Create
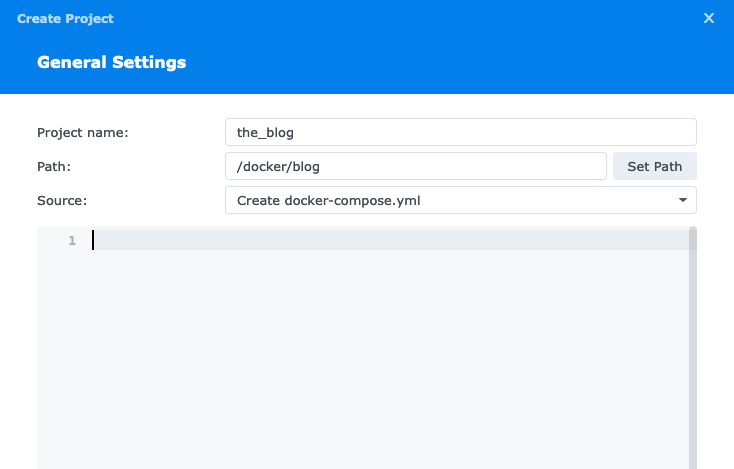
Now the time has come to create a new project in Container Manager. Launch it, open the Projects view from the left, and hit the Create button.
Here we need to give our project a name, choose a previously created path for it, and provide a docker-compose.yml.
And here is our docker-compose.yml:
version: '3.1'

services:
  ghost:
    image: ghost:5.71.0 # Choose the version here: https://hub.docker.com/_/ghost/
    container_name: the_blog_ghost
    restart: unless-stopped
    ports:
      - 43332:2368 # Some random port mapped to a default Ghost port inside container
    volumes:
    # This is the path to our directory created at the beginning, mapped to a content directory inside the container
      - /volume1/docker/blog/content:/var/lib/ghost/content
    environment:
      database__client: mysql
      database__connection__host: 192.168.1.2 #This should be the local IP address of your NAS
      database__connection__user: blog_ghost #Database user we've created previously
      database__connection__password: '12345' #The strongest password you can imagine
      database__connection__database: my_blog #Database name we've created previously
      url: https://blog.randomplace.online #Your future blog domain, you definitely already bought
The next step will allow us to create a web portal for our container on a port we mentioned in docker-compose.yml
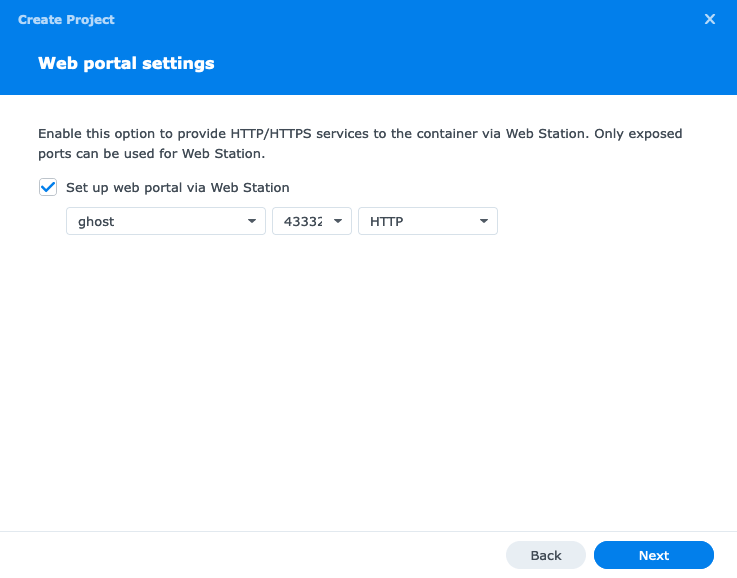
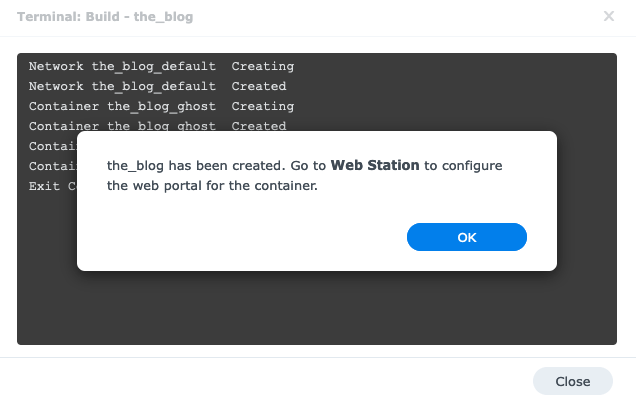
We should accept this option and hit Next and then Done to start the container and navigate to a Web Station to configure a Web Portal:
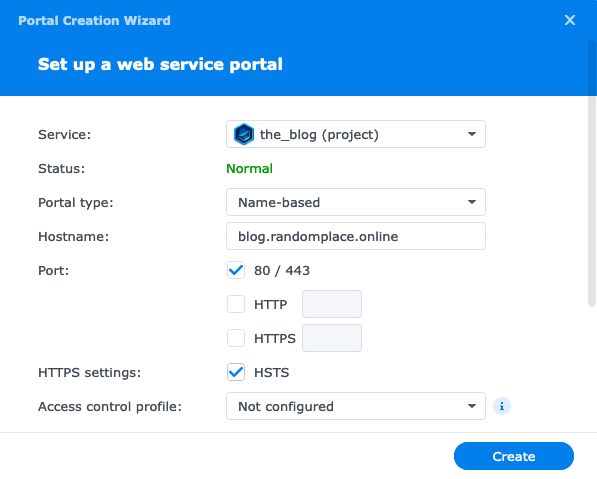
Here we need to create a Name-based portal and use our domain as a Hostname. Also, we should force HTTPS (redirect all HTTP requests to a secure HTTPS connection) with the HSTS option:
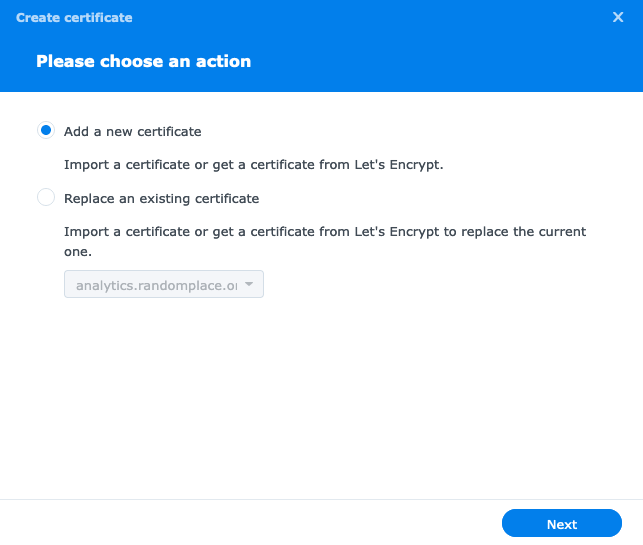
The last thing we should do is generate a new SSL certificate to serve our blog through HTTPS. Go to Control Panel - Security and choose the Certificate tab. Here we can request a new free SSL certificate by clicking the Add button and choosing "Add new certificate".
Then "Get a certificate from Let's Encrypt" and fill in some fields:
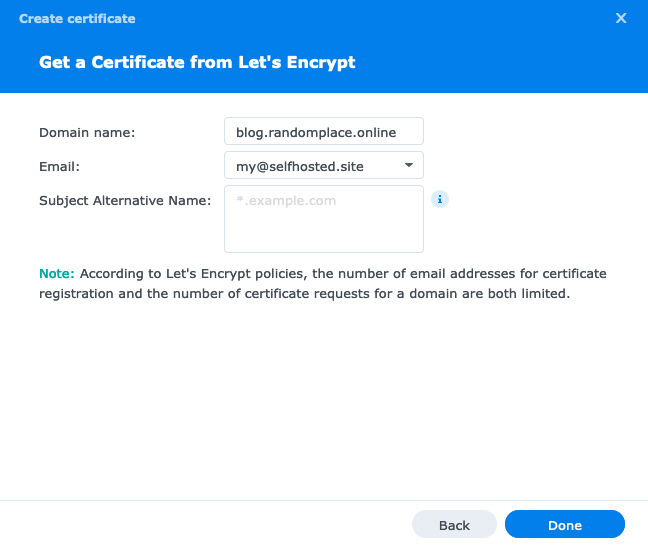
You'll get an email notification on the address added here when there will be time to renew your free certificate.
After certificate generation, we should open Settings on the same Certificates tab, find our domain service, and choose the newly generated certificate for it.
Thats it!


